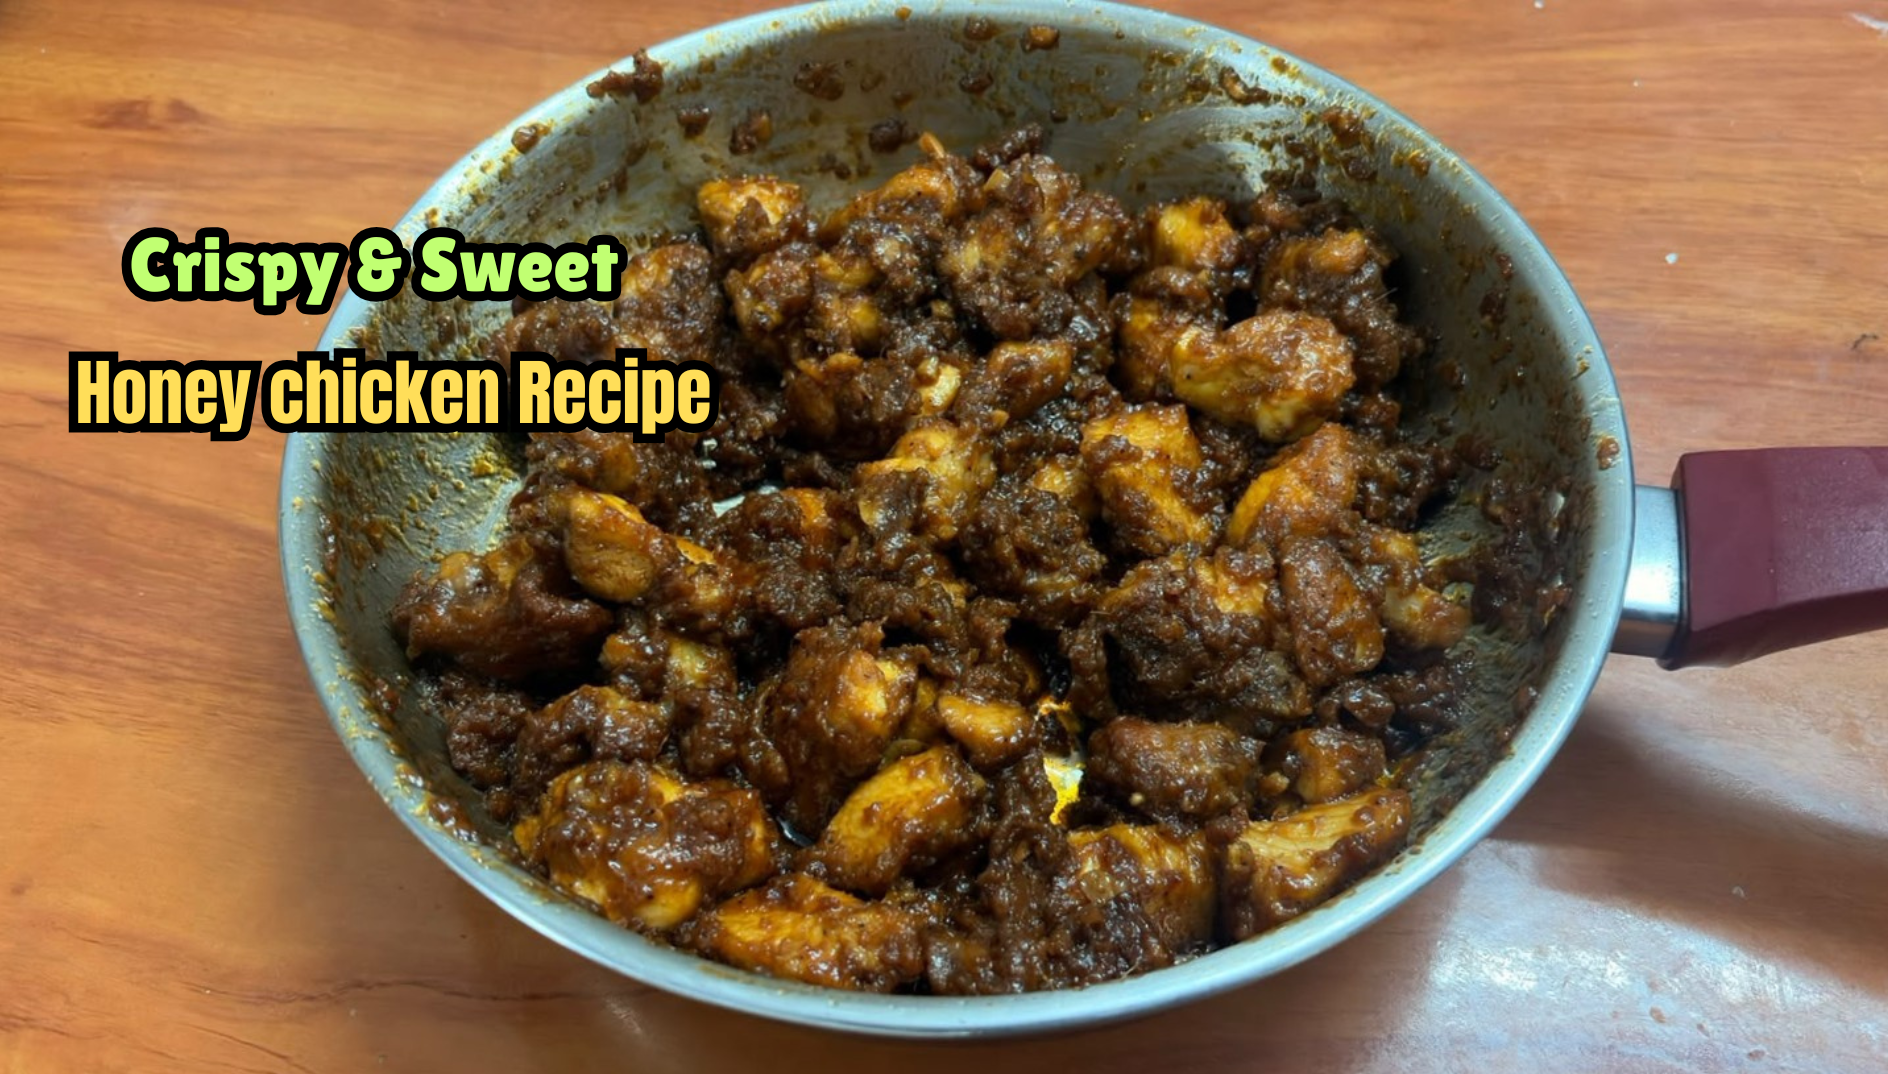
Some dishes look like they came from a restaurant, but they are honestly easy to make at home. This honey chicken recipe is one of them. The chicken is crispy on the outside, juicy inside, and coated in a sticky sauce that is sweet, slightly salty and full of garlic flavour.
I tried this honey chicken recipe at home with half a kilo of chicken and took photos at every stage, so you can see exactly how each step should look. The whole dish has just two parts. First, you marinate the chicken and fry it. Then you toss it in a quick butter garlic sauce with soy sauce, ketchup and honey.
While cooking, I added everything by eye and did not measure. So for this honey chicken recipe, I worked out proper quantities for 500g chicken. If you follow these, you will get the same taste every time, and you can adjust the honey and chilli to suit your family.
Ingredients for this honey chicken recipe
The quantities in this honey chicken recipe are for 500g chicken, which serves 3 to 4 people as a starter. Boneless pieces work best because the coating sticks well and they cook evenly. Cut them into bite-sized cubes, roughly 1.5 inches.
For the marinade (ground in the mixie)
- Chicken – 500g, washed and drained well
- Corn flour – 3 tablespoons
- Maida (all- purpose flour) – 2 tablespoons
- Egg – 1
- Red chilli powder – 1 teaspoon (Kashmiri chilli powder gives better colour)
- Ginger – 1 inch piece
- Garlic – 6 cloves
- Oil – 1 tablespoon
- Turmeric powder – 1/4 teaspoon
- Pepper powder – 1/2 teaspoon
- Salt – 3/4 teaspoon
For frying
- Oil – about 2 cups, enough for deep frying in a kadai
For the honey sauce
- Butter – 2 tablespoons (or oil)
- Garlic – 10 cloves, finely chopped
- Soy sauce – 1 & 1/2 tablespoons
- Tomato ketchup – 3 tablespoons
- Honey – 3 tablespoons
I kept the salt a little low in the marinade on purpose. Soy sauce is already salty, so if you add full salt at the start, the final dish can turn out too salty.
How to make this honey chicken recipe, step by step
Prep: 10 mins | Marinating: 1-2 hours | Cooking: 25 mins | Serves: 3-4
Step 1: Prepare the chicken
Wash the chicken and drain all the water well. Cut it into small bite-sized pieces if they are not already cut.
Step 2: Grind the marinade
Add corn flour, maida, egg, chilli powder, ginger, garlic, oil, turmeric, pepper and salt to a mixie jar. Grind it into a thick, smooth paste.
Tip: If it does not grind easily, add 1 or 2 teaspoons of water. Not more, or the coating will turn runny.
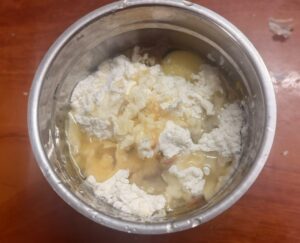
Step 3: Coat the chicken and let it rest
Add the ground paste to the chicken and mix with your hand until every piece is fully coated. Cover the bowl and keep it in the fridge for 1 to 2 hours.
Take it out about 15 minutes before frying.
Step 4: Heat the oil
Pour enough oil into a kadai for deep frying and heat it on medium flame. Drop in a small bit of the coating. If it sizzles and rises up, the oil is ready.
Step 5: Fry the chicken in batches
Lower the flame to medium-low. Add the chicken pieces one by one, only a few at a time. I fried mine in three batches.
Fry each batch for 6 to 7 minutes, turning in between, until golden brown and fully cooked inside.
Tip: Do not crowd the kadai. Too many pieces cool the oil and the chicken turns oily instead of crispy.
Step 6: Drain the fried chicken
Take the pieces out and place them on a plate lined with tissue paper. Keep them aside.
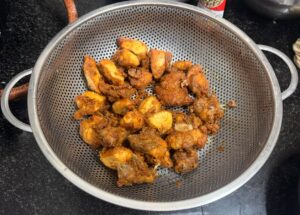
Step 7: Fry the garlic in butter
Take another kadai and melt 2 tablespoons of butter on low flame. Add the chopped garlic and fry until it turns light golden.
Tip: Garlic burns very fast, so keep stirring and do not leave the stove.
Step 8: Add soy sauce and ketchup
Add the soy sauce and tomato ketchup to the garlic butter. Mix well and cook for about 30 seconds.
Step 9: Toss in the fried chicken
Add all the fried chicken to the sauce. Mix gently on low flame for 1 to 2 minutes so every piece gets coated.
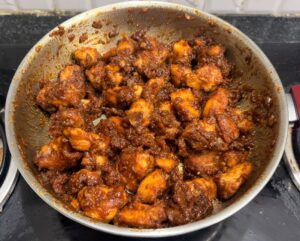
Step 10: Add honey and serve
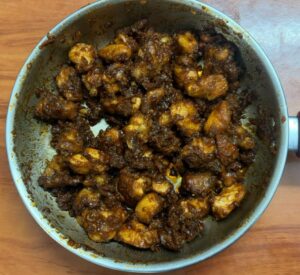
Pour the honey over the chicken and keep stirring for 1 to 2 minutes, until the sauce turns sticky and glossy. Taste a piece and add a little more honey if you want it sweeter. Switch off the stove and serve hot. Your honey chicken recipe is ready.
Small things that make a big difference
- Drain the chicken well after washing. Extra water makes the marinade runny, and a runny coating does not turn crispy.
- Keep the flame steady while frying. Too high and the outside browns before the inside cooks. Too low and the chicken soaks up oil. Medium-low is the sweet spot.
- Add the honey only at the end. Honey burns quickly on high heat, so once it goes in, keep the flame low and switch off within two minutes.
- Serve it immediately. The sauce slowly softens the crispy coating, so this honey chicken recipe tastes best within 10 to 15 minutes
What to serve with honey chicken
This honey chicken recipe works well as an evening starter with tea, or as a side with fried rice or plain noodles. For a weekend lunch, I like it with simple jeera rice and a bowl of curd on the side. You can also sprinkle some white sesame seeds and chopped spring onion on top before serving, if you have them at home.
Storing leftovers
If you have leftovers from this honey chicken recipe, keep them in an airtight box in the fridge and finish them within a day. Reheat in a pan on low flame for a few minutes. Avoid the microwave if you can, because it makes the coating soggy.
A favourite at home
This honey chicken recipe is one of those dishes that looks special but needs only basic kitchen ingredients. Once you get the marinade and frying right, the sauce takes just five minutes. Try it this weekend, and if you are looking for something quick for a vegetarian at the table, my Masala Pasta Recipe is an easy one to make alongside it.